Step 1
Attach all components of the Multi Tool Hardware together.
Step 2
Secure the Multi Tool Fibre on to the Multi Tool Hardware.
Place the Multi Tool Fibre on to a table (Fibre side down with label on right hand side). Holding the left side of the Fibre, slide the Multi Tool Hardware Plate into the right hand side of the Fibre, using the raised tab lift the left side of the Fibre over the Multi Tool Plate to secure in place.
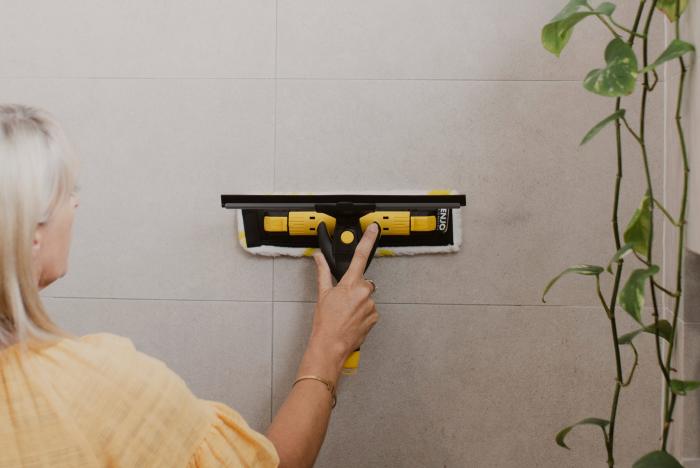
Step 3
Attach the Rubber Blade and Channel, ensuring it faces away from the Fibre in the opposite direction.
Step 4
For high areas, attach the Multi Tool to the Telescopic Pole. Slide the e-Clip out of the Cap at the bottom of the Multi Tool. Twist and pull to remove the Cap. Insert the Multi Tool into the Telescopic Pole, align the holes and re-insert the e-Clip to lock in place. Twist the Telescopic Pole anticlockwise to adjust the height then twist clockwise to lock.
Step 5
For hard-to-reach areas, adjust the angle by attaching the Twister between the Multi Tool and Telescopic Pole. Slide the e-Clip out of the Cap at the bottom of the Multi Tool handle. Twist and pull to remove the Cap. Insert the Twister, aligning the holes and re-insert the e-Clip to lock in place. Then insert the Telescopic Pole into the Twister. Slide yellow component of Twister towards Telescopic Pole handle and twist to lock into place. Push in side button of Twister to adjust angle as required.